September 22, 2026
How to Scan Old Pet Photos Without Losing the Details
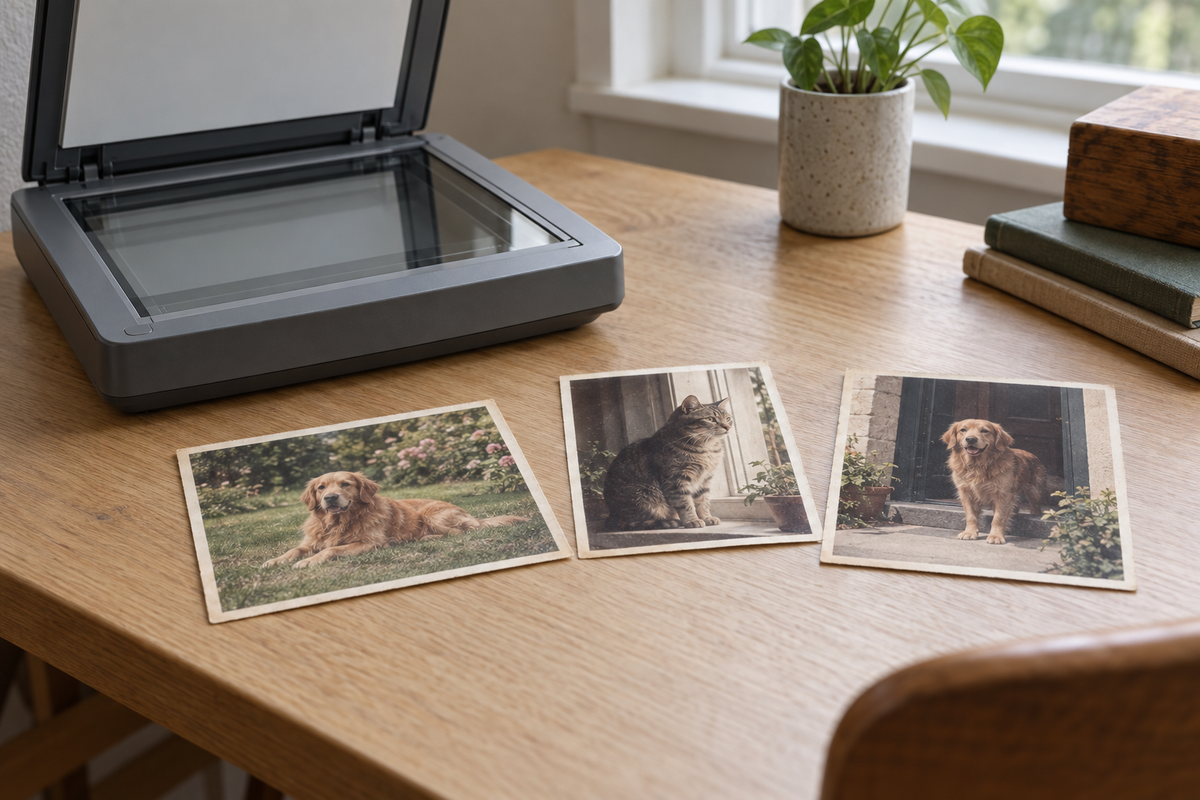
A faded print may be the only photograph that shows the white patch under your dog's chin. This guide explains how to scan old pet photos while keeping the full picture and any notes on the back. Start with the condition of the print, then decide how large you want to use the copy.
This guide covers loose photographic prints in stable condition. Negatives, slides, glass plates and damaged or stuck photographs need a different process. Work with one ordinary print first, then check the saved file before bringing out the rest.
Check the print before putting it on glass
Clear a dry table, away from drinks and pets. Put aside prints that are stuck together, shedding their surface or too curled to lie flat without pressure. Do not peel or force them flat. A photograph conservator can advise on material that is damaged or difficult to handle.
The National Archives' photograph-handling guidance recommends clean nitrile or cotton gloves and handling by the edges. Support the print so it does not bend. Keep fingers off the picture surface. If an original is in an album or attached to a backing, leave that attachment alone.
A flatbed suits a loose, flat print that fits completely on the glass. Follow the scanner's instructions for placement and cleaning the empty glass. The National Archives' family digitising guide warns against feeder scanners for fragile or valuable originals and against crushing oversized items under a lid. It describes supported overhead photography for bound material; never force an album open.
When borrowing a scanner or using a service, explain that the originals must come back. Ask how they will handle the particular prints and what files you will receive. Leave any doubtful item out of the first batch.
Choose resolution from the intended picture size
Decide where the scan will go: a small replacement print, a larger picture or a digital copy for relatives. If you want just the face from a group photograph, measure that smaller area when planning the scan.
Scanner software often labels sampling resolution as dpi. The resulting file has pixels; pixels per inch, or ppi, describes their density at a chosen output size. Epson's scan-settings guide shows the enlargement relationship: when scanning at original size, doubling the later print dimensions calls for doubling the scan resolution, such as 300 to 600 dpi.
A worked example, with no cropping
If a printer asks for 300 ppi, a 4 × 6 inch print scanned at 600 samples per inch gives 2,400 × 3,600 pixels. Placed at 8 × 12 inches, that file supplies 300 ppi. These numbers show the calculation; they are not a promise that an old soft photograph will become sharp.
Check both the scanner manual and the intended printer's requirements. Set target size to the original size for this calculation; software that applies enlargement during scanning may handle the numbers differently. Cropping down to a small face uses fewer pixels than keeping the whole print.
Use a photo setting rather than a black-and-white text preset. Save a test with automatic restoration switched off so you have an unchanged comparison. Your software may use different labels; check its help page before applying settings to the batch.
Capture the border and the writing on the back
Place one print on the scanner and run a preview. Select the whole rectangular print including its border, and check that the scan area includes every edge. A tight automatic crop can remove part of an ear or tail that you wanted to retain.
Give the print a simple number on a separate note. For an invented example, use milo-001-front and milo-001-back for the two captures, with milo-001-notes for your explanation. Keep the number when you make later copies. You can record a blank back in the notes rather than create an unnecessary image.
Writing on the back may identify the pet, a place or the person who took the picture. If you cannot read a word, mark it as unclear in your notes rather than filling it in. A date stamped by a processing shop is not necessarily the day the photograph was taken. Keep your own recollection separate from what the object actually says.

When you digitise old pet photographs for somebody else, ask them to check the names before you rename a whole folder. Two similar-looking cats can be easy to confuse, especially when the prints have become separated from their envelopes.
Keep the capture separate from the edit
Store the first full capture in a folder called Scans. Make a second folder called Edits for crops, rotation and colour changes. Leave enough room in your filenames for a version number so that a pleasing edit does not silently replace the source.
Epson recommends TIFF when an image will be modified or retouched and notes that repeated JPEG re-encoding can lose image information. If your scanner supports TIFF, it is a useful option for the retained capture. Export a separate JPEG when a sharing or printing service asks for it. Check the software's supported formats rather than changing a filename extension.
After editing, check whether a white whisker, dark muzzle edge or small coat patch has changed. Compare the edit with the capture at the same size. If you cannot tell whether a pale spot is damage or a marking, keep the unchanged scan and note that you cannot identify the spot.
Inspect the pet, then the rest of the file
Open the saved file in a viewer outside the scanning window. Look at the full image, then zoom in on the eyes, nose and coat boundaries. Check that an ear tip has not been clipped and that the border is present on all sides.
A bright streak may hide part of the face; a dark scan may merge the muzzle into the chest. Compare those areas against the physical print under ordinary, even light. If a new scan is needed, change one setting and keep the earlier file until you have compared them. Higher resolution alone will not fix glare or an accidental crop.
Look at the back capture too. Can you read the faint pencil note? Does its number match the front? Check the pair before you return the originals or repeat the process for fifty prints.
If the files will support a commission, send an untouched scan alongside any edited version. Our guide to reference photos for a felt pet portrait explains which views an artist may need. A clear scan of one photograph still shows only that photograph's angle.
Name the batch and check its backup
Keep the original prints after scanning. For physical storage and separating display copies, use the pet memory box guide. You can leave the rest of the collection in its existing order while you finish this batch.
Back up the scans and their notes. The National Archives recommends three copies, on two types of storage, with one copy off-site. Open a few files from a backup to check that the copies are usable, including a front-and-back pair.
Once you can scan printed pet photos reliably, finish a small batch and record where the originals went. Use edited copies when you assemble a pet photo book. Keep the full captures so a different crop, a newly remembered name or a relative's question does not require another handling session.